Boosting Seed Germination in Hot Weather: Why I Use Burlap in My Denver Gardens
One of the trickiest parts of fall gardening in Denver? Getting seeds to actually sprout. If you've ever lovingly planted carrots or lettuce and then stared at dry, crusty soil wondering if anything's happening… you’re definitely not alone.
Last week, I was back at one of my gardens in Greenwood Village where we’ve had some tough luck with germination, especially in spots without overhead irrigation. But I tried something different, and I wanted to share what worked (and what still needs time!)
Let’s dig in. 👇
Watch my behind-the-scenes video of this process! 👇
The Problem: Low Germination in Dry Beds
In this particular garden bed, I’ve sown carrots three times now with little to no success. Why? There’s no drip or sprinkler system over this area, and we haven’t been able to hand-water consistently, especially with how hot and dry it’s been lately.
And if you’ve tried to germinate carrots before, you know they’re extra picky. They can take up to 21 days to germinate, and they need consistent moisture that entire time.
Same goes for lettuce, peas, and radishes! They all need a little extra help staying moist while they sprout, especially in our semi-arid Colorado climate.
The Simple Solution: Burlap!
Get our free Denver Kitchen Garden Tool Checklist now!
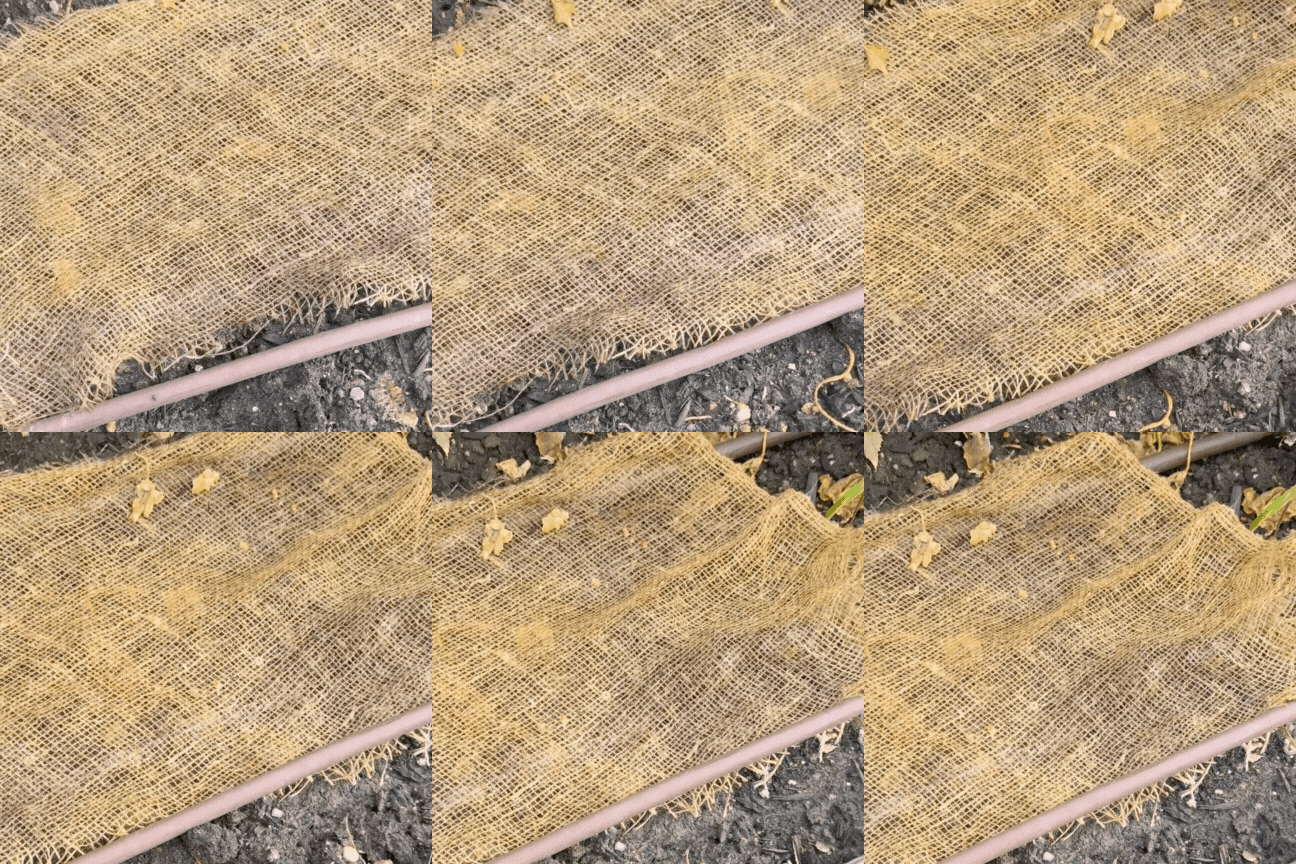
So last week, I tried a method I love using when germination is tough: I covered the freshly seeded areas with burlap fabric.
Basic, breathable burlap helps to:
Lock in moisture after watering
Shade the soil so it doesn’t dry out or crust over
Protect tiny seeds from getting baked by the sun
I laid the burlap loosely over the soil after planting seeds for carrots, lettuce, peas, and radishes. Then I came back a few days later to check on the results…
The Results: Germination Win (Especially for Radishes!)
🥕 In the carrot bed:
This was our third round of trying to germinate carrots in the same spot, and finally—we’ve got babies popping up!
A few scattered carrot sprouts here and there
A solid patch in the middle of the row
Still a little sparse overall, but definitely better than before
I’m leaving the burlap on for a while longer since carrots can take up to three weeks to show up. It’s a slow game, but totally worth it if you want that sweet, crunchy fall harvest.
🌱 In the radish bed:
We’ve got great germination here! Radishes tend to be quicker to sprout (and more forgiving), but the burlap definitely helped them pop up strong and evenly.
Why Burlap Works (Especially in Colorado)
If you’re gardening in the Denver metro area, you know our dry climate doesn’t play nice with baby seeds. Moisture evaporates quickly, and unless you’re watering 2–3 times a day (or have a fancy irrigation setup), seeds can dry out before they even sprout.
That’s where burlap saves the day.
In hot weather, it acts like a breathable shade cloth
In dry soil, it traps moisture and keeps the top layer from drying out
For small seeds, it protects them from crusting, wind, or being washed away during watering
I especially recommend using burlap when:
You’re sowing carrots, lettuce, or spinach
You’re doing a fall planting without automatic irrigation
You want to stretch your garden season into September and beyond
Where to Get Burlap
You can find garden burlap at most local garden centers or order it online. I recommend looking for natural, untreated burlap, nothing dyed or chemically treated.
Pro tip: Cut it into smaller pieces and reuse it throughout the season!
Final Thoughts: Don’t Give Up on Fall Seeds!
If you’ve struggled with getting seeds to sprout in your fall garden, especially in dry, sunny beds, try this burlap trick.
It’s simple, reusable, and makes a big difference in how many seeds actually turn into food on your plate.
You’ve still got time to plant cool-weather crops like carrots, radishes, lettuce, spinach, and peas in the Denver area, especially if you give them a little extra love at the beginning.
Want the Full List of my favorite Denver kitchen garden tools?
This is just the tip of the trowel! I put together a full, beautifully designed checklist of all my favorite gardening tools—perfect for beginners or anyone wanting to simplify their setup.
It includes soil tools, weeding gadgets, harvest helpers, and even my favorite freezer containers.
Get the free garden tool checklist!
Give Your Garden the Best Start This Year!
Whether you’re starting from scratch or you’re a garden pro, let us support you in your garden this season. We’ve got something for everyone!
🌱 Want to learn exactly what to grow (and when) in Denver?
Check out our Denver Growing Guide for in-depth advice, planting tips, and planning strategies! Let’s start planning your best garden yet.
🌱 Need help designing a garden that works for YOU?
We offer consultations, custom garden and landscape designs, and maintenance packages. Sign up for a consultation today and let’s create a space that nurtures both your plants and your well-being.
Have questions or want to share your gardening success stories?
Drop a comment below, or reach out through our Contact Page!
Check out our free resources or services!
Save this Blog on Pinterest!
**This post may contain affiliate links, which means I earn a small profit if you click on the link to make a purchase. Other links are not sponsored, because I also like supporting small, local businesses.**
Meet the Gardener
I’m Elisa Mack - a mom and Denverite who went from being a green-ish thumb to a kitchen garden fanatic simply by dedicating myself to the study of all things Colorado gardening.
Landscapers don’t design. And nurseries don’t make house calls.
We take a more full-service approach, from designing your dream garden to keeping it beautiful year-round.
And as your coach, I’ll help eliminate the guesswork through every season, no matter your level of knowledge.


