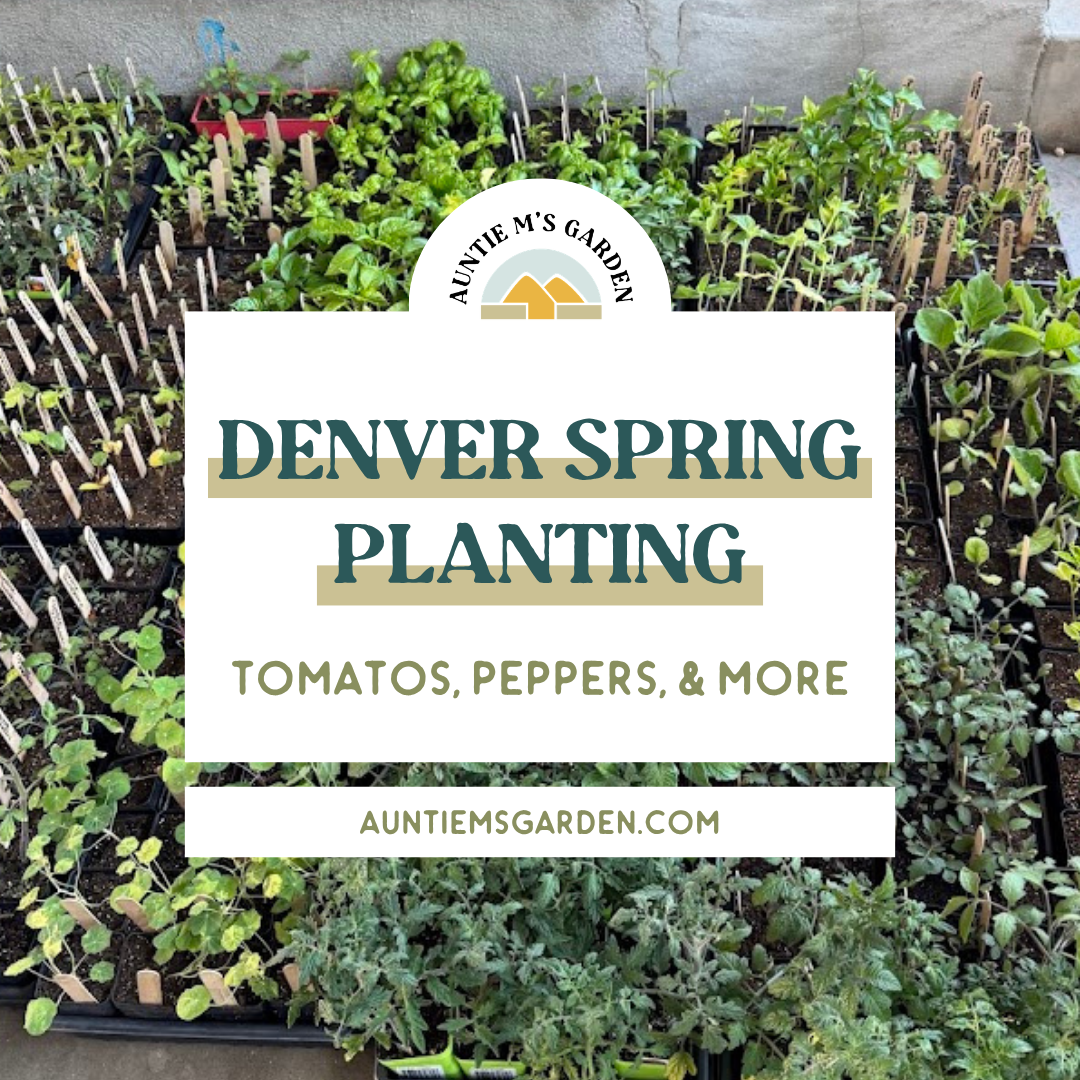
Denver Spring Planting Guide: Tomatoes, Peppers, and More
Late April and early May in a Denver garden is one of my favorite times of year. It's a little chaotic, honestly. Your cool-season crops are still going strong — radishes popping up, carrots filling in, bok choy at its peak. And at the same time, you've got warm-season transplants ready to go in and not a lot of time to waste before last frost clears and the real growing season kicks off.
There's a lot happening at once, and if you've ever stood in your garden in late April not quite sure what to do first, you're not alone.
This post is a walkthrough of exactly what I do in my own garden during this window: how I plant my warm-season transplants (including my go-to technique for tomatoes and peppers), how I handle the transition from cool-season to warm-season crops in the same bed, and how I harvest what's ready without disturbing what's still growing.
In this post, we're covering:
My base planting method for any transplant, using a hori hori and worm castings
How to plant tomatoes the right way, including stripping the stem for stronger roots
The horizontal planting method for leggy tomatoes
Why Denver gardeners should plant peppers closer than the tag says
How to harvest radishes without disturbing your carrots
How to transition a bed that's still growing cool-season crops into warm-season space
The Base Planting Method: How I Plant Any Transplant in Denver
Before we get into tomatoes and peppers specifically, here's the foundation I use for pretty much every transplant that goes into my garden.
You don't need a trowel. You don't need to dig out a big scoop of soil. All you need is a hori hori (a Japanese garden knife — one of my absolute favorite tools) and a container of worm castings.
Here's the process:
1. Slice and shift, don't dig out
Take your hori hori and slice it into the soil as deep as it will go. Then shift the soil to the side. You're moving soil, not removing it. This keeps the soil structure intact and makes it much easier to firm everything back in around your transplant.
2. Add worm castings at the bottom
Before your plant goes in, add a generous amount of worm castings right at the bottom of that planting hole. I'm talking a real handful — more than you think you need. Worm castings are one of the gentlest, most effective amendments you can give a new transplant. They won't burn roots the way some fertilizers can, and they give the plant an immediate nutrient boost right where it needs it most: at the root zone.
3. Set your transplant and check the roots
Carefully remove your plant from its container. If it's root-bound (roots circling the bottom or coming out the drainage holes), loosen them up gently before you plant. If it looks good, just set it right down on top of those worm castings.
4. Firm it in well
Push the soil you moved back over the root ball and press it down firmly. What you're going for is solid soil-to-soil contact. Air pockets around roots are one of the most common reasons transplants struggle after planting. Press it in, and then press it in again.
That's the whole method. Simple, fast, and it works for peppers, herbs, flowers, pretty much anything going into the ground.
How to Plant Tomatoes in Denver: The Deep Planting Method
Tomatoes are different from almost every other vegetable in one really useful way: they grow roots anywhere their stem touches soil. That means the deeper you plant them, the more roots they develop, and the stronger and more drought-resilient the plant becomes.
Here in Denver, where we have hot summers, intense sun, and dry conditions, a tomato with a deep, well-developed root system is a tomato that actually thrives. This isn't optional advice — it's essential.
Here's how I do it:
Strip the lower branches first
Before your tomato goes in the ground, remove all of the lower branches, leaving just the top few sets of leaves. I use my fingernail to pinch them off cleanly at the stem — don't pull them, because you risk tearing or damaging the main stem. You want a clean pinch right at the base of each branch.
For a smaller, more compact tomato plant, you can strip the lower third and plant it straight down into a deep hole using the same hori hori-and-worm-castings method described above. Get it below soil level so that buried stem has room to develop roots, firm it in well, and you're done.
Why this works
Every part of that buried stem is going to send out roots into the surrounding soil. What goes in as a somewhat fragile transplant comes out (weeks later) as a plant with a much bigger, stronger root system than it would have had if you'd planted it at the same depth it was in the pot.
Watch the Youtube Video!
The Horizontal Method: How to Plant a Leggy Tomato
If you've ever bought a tomato transplant that got a little too tall before you were ready to plant (it happens to all of us), the horizontal planting method is your best friend.
A leggy tomato is a long tomato with a lot of bare stem and just a few leaves at the top. You could try to plant it straight down in a very deep hole, but that gets complicated fast. Instead, lay it on its side.
Here's how:
1. Strip almost everything
Take off all of the lower branches, leaving just two or three sets of leaves at the very top of the plant. The stem that gets buried is going to become roots, so the more stem you can get underground, the better.
2. Dig horizontally, not straight down
Instead of digging a deep vertical hole, move your soil horizontally to create a shallow trench. You still want depth on one end (where the root ball will sit), but the trench allows you to lay the stem along the soil rather than trying to force it straight down.
3. Add worm castings
Same as always. Add a good amount at the bottom of the trench, especially near where the root ball will sit.
4. Lay the stem in and cover
Set the root ball into the deeper end of the trench and lay the long stem horizontally along the bottom. Cover the whole thing with soil and press it down firmly. Only the top few leaves should be sticking up above soil level.
5. Don't worry about the angle
Your tomato is going to look a little sideways at first, and that's completely fine. Tomatoes reach toward light. Within a few days it will start bending itself upright. You don't need to stake it into a perfectly vertical position right away — it will get there on its own.
If you want to give it a little support while it finds its footing, you can tie a loose piece of twine from the stem to your trellis. But it's not required.
Watch the Youtube Video!
Why Denver Gardeners Should Plant Peppers Closer Than the Tag Says
Here's one of my favorite Denver-specific planting tips, and it's one that surprises a lot of people: plant your peppers close together. Closer than you think. I'm talking about eight inches apart.
Most seed packets and plant tags will tell you to space peppers 12–18 inches apart. That advice is written for a generic US garden. It's not written for Denver.
Here in our high-altitude, semi-arid climate, we have very little moisture in the air. Peppers are heat-loving, humidity-loving plants, and in Denver, they're not going to find that humidity on their own the way they might in a more humid climate.
When you plant peppers close together, they create it themselves. The leaves overlap, the plants shelter each other, and that small cluster of peppers generates its own little pocket of warmth and humidity. It's like giving them a tight-knit community where they look out for each other.
I plant my peppers about eight inches apart in every bed, every year. The difference in performance compared to wider spacing is noticeable.
A note on transitioning beds
If you're still growing cool-season crops like bok choy or spinach when it's time to get your peppers in, you don't necessarily have to pull everything out first. I often plant my peppers directly into a bed that still has cool-season crops growing in it, tucking them in between the rows. As those cool-season crops finish out over the next few weeks, the peppers are already establishing themselves and taking over the space. It's an efficient way to keep the bed productive all season long without any awkward empty gaps.
How to Harvest Radishes Without Disturbing Your Carrots
If you planted radishes and carrots together (which I highly recommend), you're probably getting to the point right now where your radishes are ready but your carrots still need more time. Here's how to harvest one without messing up the other.
How to tell when a radish is ready
Look at the top of the radish where it meets the soil. This is called the shoulder. When the shoulder pops up through the soil surface and the radish is roughly the size of a quarter, it's ready. You don't have to guess or pull prematurely — the shoulder tells you.
How to pull it without disturbing the carrots
Grip the radish at the base of the greens, wiggle it gently back and forth to loosen it from the soil, and pull straight up. Don't yank. A little wiggling first makes the whole thing much cleaner.
Once the radish is out, you'll likely see a little bit of exposed carrot root in the spot where it was. That's completely normal and nothing to worry about. Just push the surrounding soil back over the exposed root with your fingers. The carrots will be completely fine.
Why this interplanting works so well
Radishes mature fast (usually 25–30 days) while carrots take much longer (60–80 days). Planting them together means you're using the same space twice: the radishes come out just as the carrots need the room to size up. It's one of the most efficient use-of-space tricks in a small Denver garden.
Watch the Youtube Video!
Putting It All Together: What May Looks Like in My Garden
Here's the honest picture of what's happening in my garden right now, and probably yours too.
Some beds are still full of cool-season crops that are at their peak or just past it — bok choy, spinach, arugula, radishes, carrots. Other beds are being cleared and prepped for warm-season transplants. And some beds are in that in-between stage where I'm tucking peppers in between rows of spinach and just letting the seasons overlap for a couple of weeks until the cool-season stuff is done.
It feels like a lot. But once you have a method for each piece (how to plant transplants, how to handle tomatoes specifically, when to harvest what's ready), it actually moves pretty fast.
The main things to remember for Denver specifically:
Plant tomatoes deep, always. Strip the stem and get as much of it underground as you can.
Use worm castings at the bottom of every planting hole.
Plant your peppers close together so they can create their own warmth and humidity in our dry climate.
You don't have to wait for cool-season crops to completely finish before warm-season plants go in. Let them overlap.
Harvest radishes as soon as the shoulder pops up. Don't wait too long or they get pithy.
You've got this. May in Denver is busy, but it's the good kind of busy.
Save this Blog on Pinterest! A great one to bookmark for next planting season.
Give Your Garden the Best Start This Year!
Whether you’re starting from scratch or you’re a garden pro, let us support you in your garden this season. We’ve got something for everyone!
🌱 Want to learn exactly what to grow (and when) in Denver?
Check out our Denver Growing Guide for in-depth advice, planting tips, and planning strategies! Let’s start planning your best garden yet.
🌱 Need help designing a garden that works for YOU?
We offer consultations, custom garden and landscape designs, and maintenance packages. Sign up for a consultation today and let’s create a space that nurtures both your plants and your well-being.
Have questions or want to share your gardening success stories?
Drop a comment below, or reach out through our Contact Page!
Check out our free resources or services!

Save this Blog on Pinterest!


**This post may contain affiliate links, which means I earn a small profit if you click on the link to make a purchase. Other links are not sponsored, because I also like supporting small, local businesses.**

Meet the Gardener
I’m Elisa Mack - a mom and Denverite who went from being a green-ish thumb to a kitchen garden fanatic simply by dedicating myself to the study of all things Colorado gardening.
Landscapers don’t design. And nurseries don’t make house calls.
We take a more full-service approach, from designing your dream garden to keeping it beautiful year-round.
And as your coach, I’ll help eliminate the guesswork through every season, no matter your level of knowledge.